Start with one outcome the viewer cares about
A useful product demo shows a task, the interaction that completes it, and the result. Before recording, write one sentence: “After watching, the viewer will understand how to ___.” Use that sentence to decide what belongs in the video.
For this guide, imagine a feedback app that turns a customer message into an assigned task. The demonstration does not need to tour settings, integrations, and every navigation item. It needs to show the message becoming a task while keeping the original context.
Creavit Studio can record the real interface, help you edit the take, and add visual presentation around it. The example below is a suggested production exercise, not a claim about conversion rates or a customer case study.
1. Write a short storyboard
Use a table before writing a detailed script. Pair each line of narration with a visible action. If a sentence has no useful visual, shorten it or replace it with a clearer example.
| Scene | Viewer sees | Suggested narration |
| Opening | The finished task with its original message | “Turn customer feedback into an assigned task.” |
| Setup | One realistic feedback message | “Start with the message your customer already sent.” |
| Action | Select the message, choose an owner, create the task | “Choose who should follow up and create the task.” |
| Result | The owner, status, and linked context | “The team keeps the context without copying it between tools.” |
| Closing | A short invitation or next step | “Try it with your next customer message.” |
Aim for a concise first cut rather than a fixed duration. A simple launch clip may fit in 30–60 seconds; a teaching demo may need several minutes. Preserve the information your audience needs to act, even if a shorter video would look neater on a storyboard.
2. Prepare believable sample data
Use a demo workspace with realistic names, messages, and results. Empty states and placeholder text can make a useful feature difficult to understand. Remove private customer data, account details, and unrelated notifications before recording.
Set the application to a readable text size. A whole desktop shrunk into a phone player can make labels illegible even when the source was recorded at high resolution. Choose the smallest capture region that still explains the workflow.
Decide whether the video needs your camera. A presenter can help with an introduction, but it should not cover the control or result being demonstrated. A camera-free product clip can be the clearer choice when the interface carries the story.
3. Record the real workflow
In Creavit Studio, choose Display, Window, or Area. Enable microphone narration, system audio, and camera only as needed. Confirm the sources, then press Record. For a mobile product, follow the USB iPhone recording guide.
Perform the sequence at a deliberate pace. Pause briefly before a click so the viewer can locate the target, and hold on the result long enough to understand it. If you make a mistake, pause and repeat the sentence or action; you can remove the unsuccessful version in the edit.
Keep the product behavior honest. If the app needs time to create a report, you can shorten the wait, but make that edit apparent. Do not use an accelerated recording to imply an unmeasured performance claim.
For narration and application sound together, make a short test using the system audio setup guide before recording the full take.
4. Edit the explanation before adding effects
Watch the take once with the storyboard beside it. Remove setup time, repeated actions, and sentences that do not help explain the outcome. Keep enough context for each transition to make sense.
Use the timeline for visual timing. For narrated sections, the transcript can help you find repeated explanations; silence detection can identify pauses for review. Read our silence and transcript editing guide before applying a large batch of cuts.
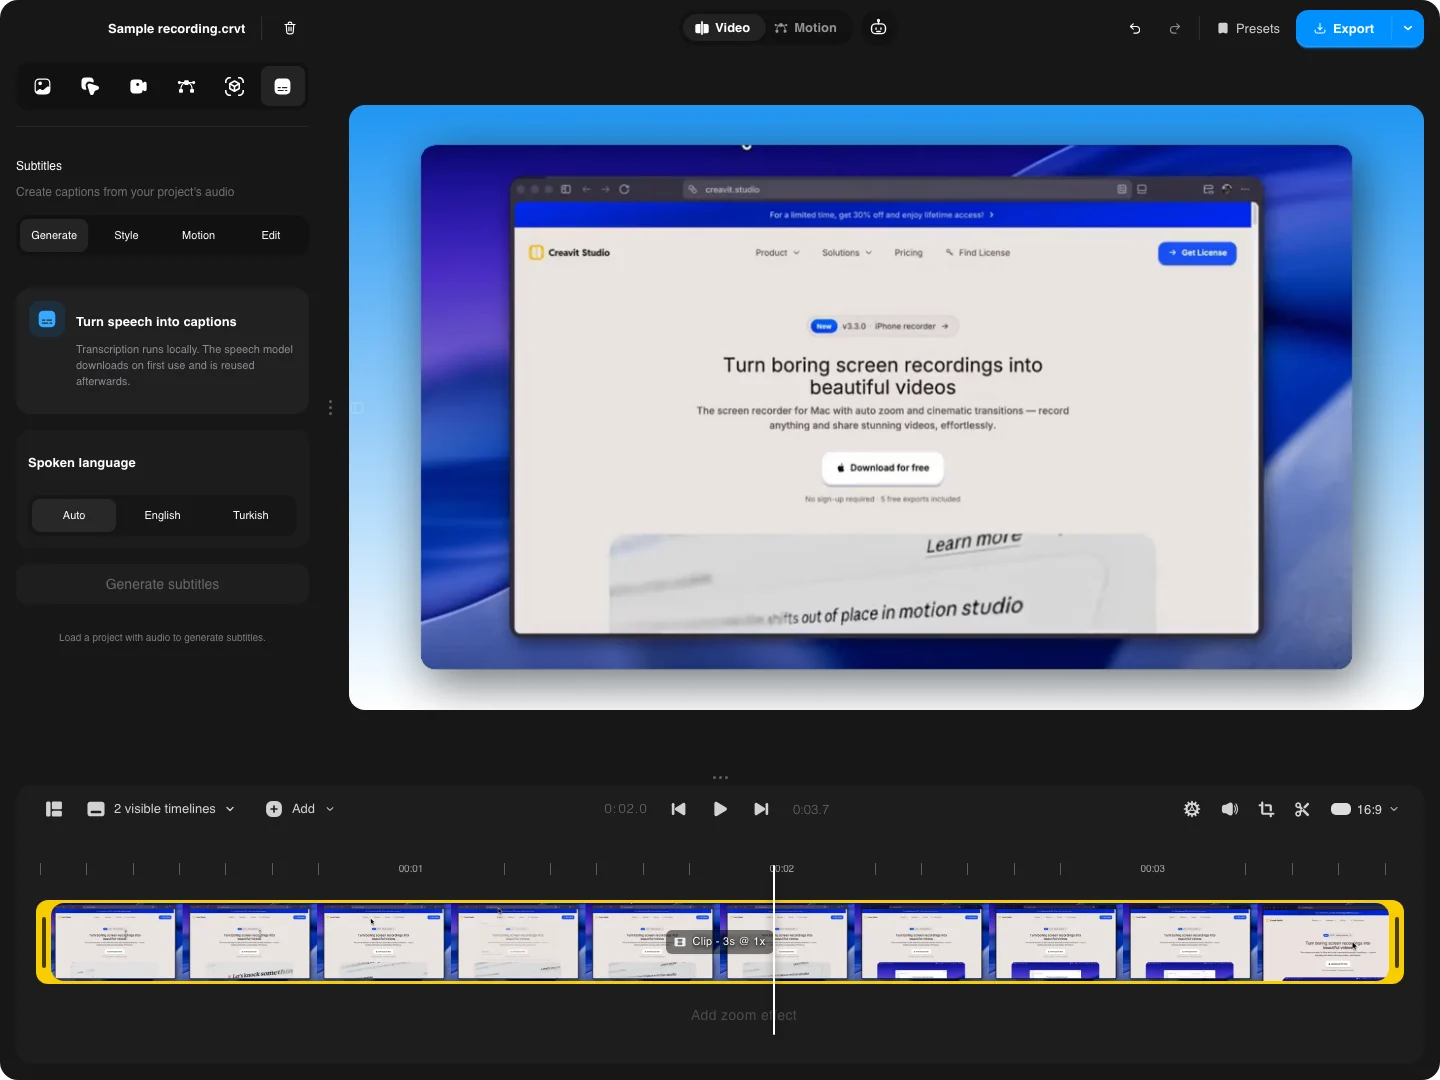
Listen across every join. A video can look smooth while the first consonant of a sentence is missing. Keep the original project so you can revise an edit after someone reviews the video.
5. Use zoom and perspective to guide attention
Automatic zoom is a useful starting point for click-driven actions. Adjust its target and timing when the important result appears away from the cursor. Use a manual close-up for something that changes without a click, such as a chart or a keyboard-driven action.
A perspective move can work for the opening reveal. During detailed instruction, a readable front-facing view may be better. Choose movement for the explanation: a dramatic angle that hides a label is working against the demonstration.
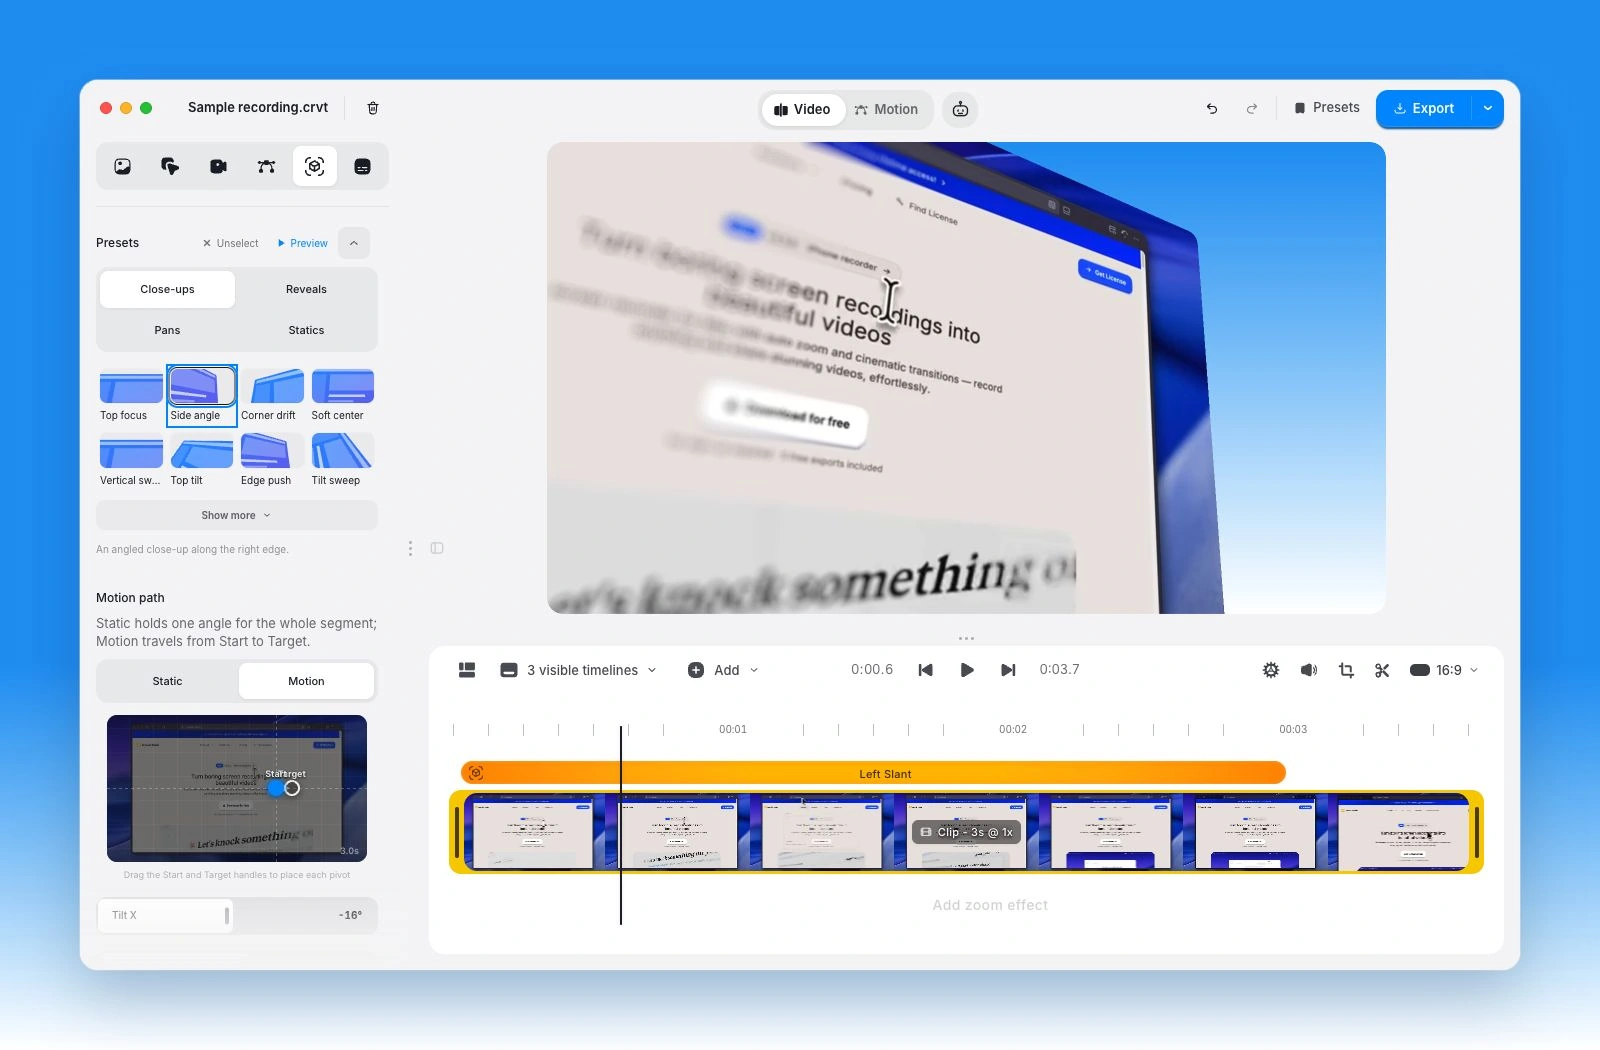
The perspective guide and editable zoom workflow explain those controls in context.
6. Add the message with text or motion
Use a short title to establish the benefit and a label when an interface detail needs explanation. Avoid covering product text with another paragraph. Read every overlay at the final player size and leave enough time for someone seeing it for the first time.
For an opening feature card or closing message, the free Motion Editor lets you build animated text, shapes, and images with timeline control. Save the motion into the editor when it belongs in the recording, or export a standalone animation for a separate placement.
Captions serve a different purpose from a title. Correct names, technical terms, and punctuation before exporting them. Watch a muted version of the demo: the essential story should remain understandable without relying on a paragraph of tiny subtitles.
7. Export for where people will watch
Choose the composition and dimensions for the destination. A landscape website demo and a vertical social clip may need different framing from the same source project. Re-check overlays and zoom targets after changing the aspect ratio.
Use a video file for the full demo and a short GIF when you only need a small silent loop. If the clip must sit over another background, consult the transparent export guide for compatible alpha formats. A normal MP4 is not a substitute for a transparency-capable output.
Play the exported file in the actual destination player. Confirm readable text, audio levels, the first visible frame, and a clean ending. Keep the editable project and the source assets with the export so an interface update is a revision rather than a complete remake.
Review the demo before publishing
- Can a new viewer state the benefit after the first few seconds?
- Does each click lead to the result the narration describes?
- Are waiting time and edits represented honestly?
- Are sensitive details removed from every visible frame?
- Are the interface, captions, and labels readable on a smaller display?
- Does the closing message offer one clear next step?
Ask someone unfamiliar with the product to describe what they understood. Use their confusion to improve the video instead of adding more features to the tour. For a shorter launch-focused structure, continue with product launch videos.